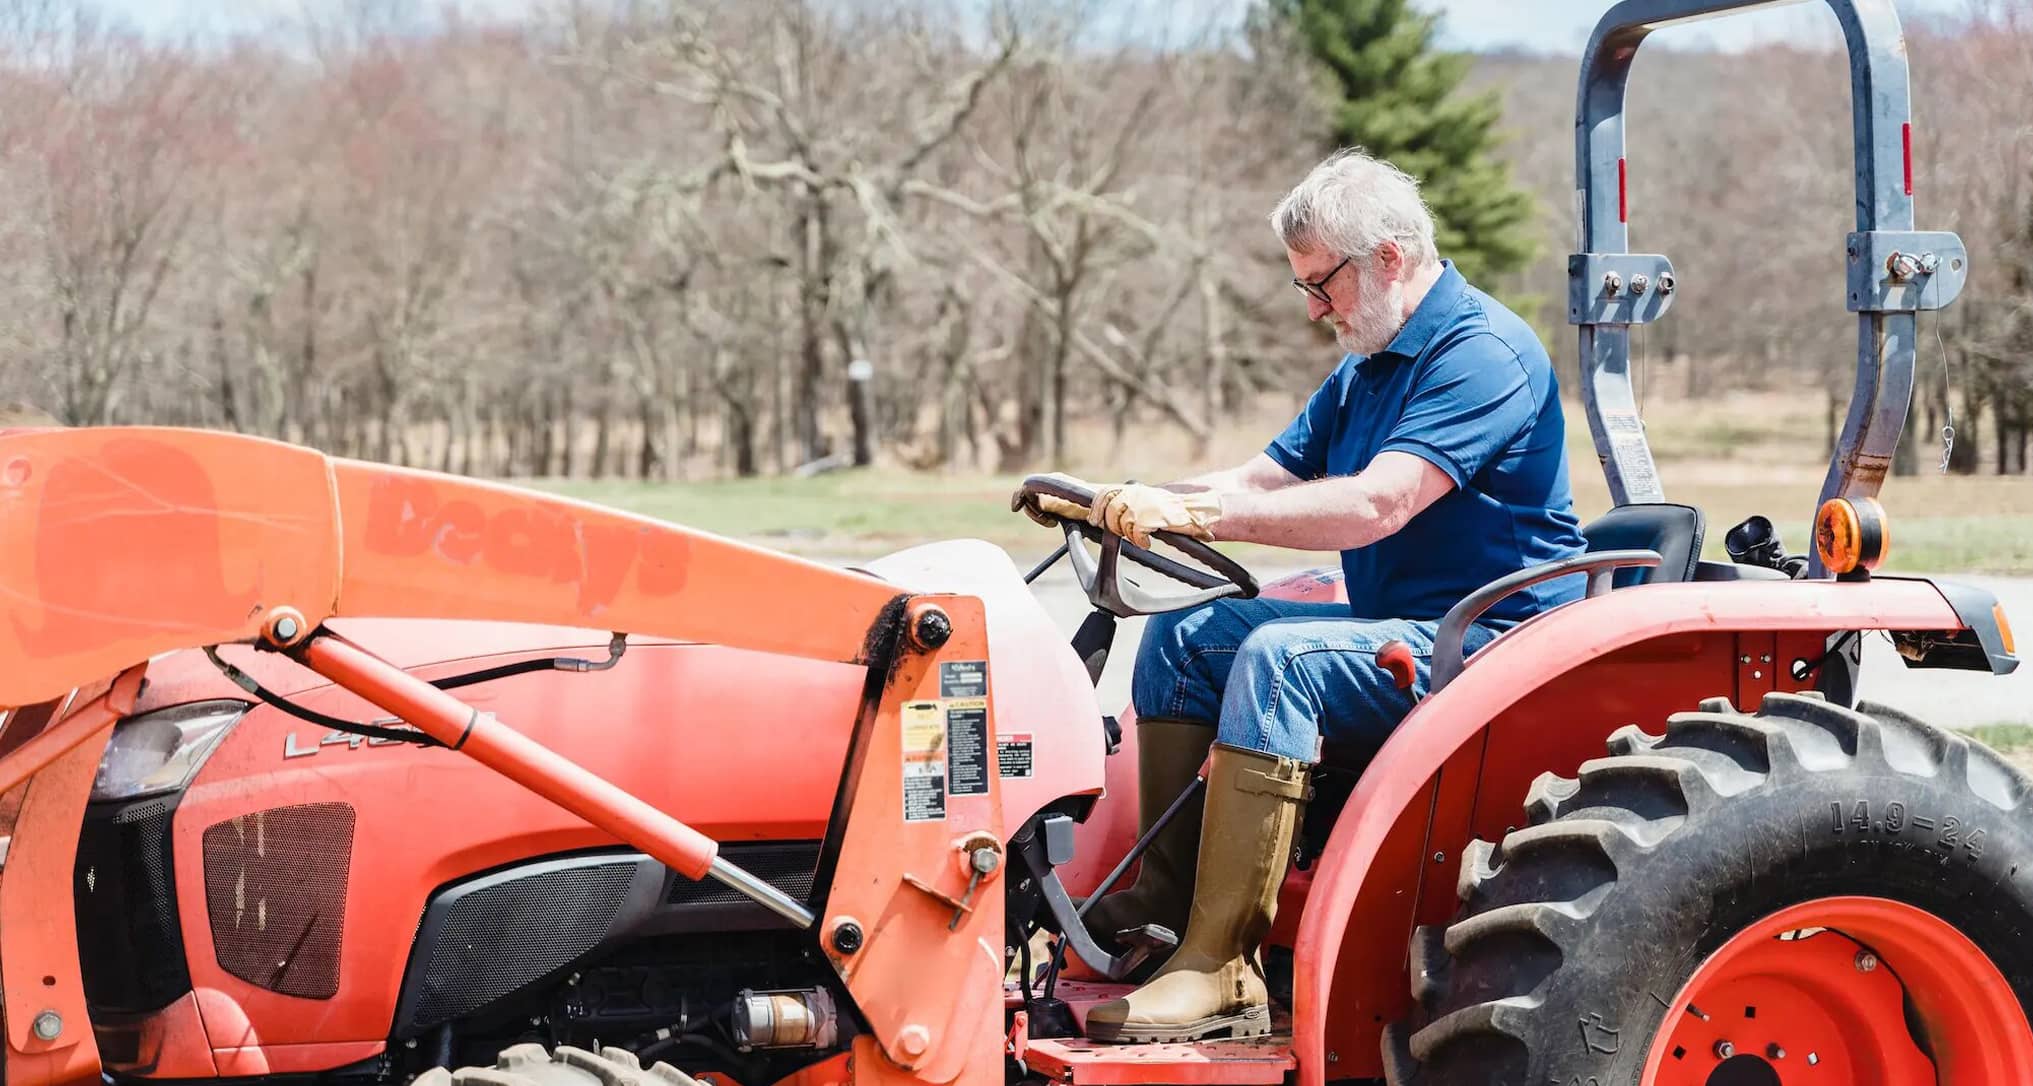
The Kubota M7 is one of the most powerful farming tractors on the market, easily snatching the title of the “Flagship of the Farming Fleet.” With this tractor, Kubota went back to the basics, reimagining what farming could look like in a world where people and the environment matter. With the goal of being eco-friendly, the Kubota M7 is a powerful machine that utilizes Tier 4 EPA emission standards requiring both Diesel Particulate Filter and Selective Catalytic Reduction technologies.
With a completely redesigned engine and more power, the Kubota M7 utilizes a high-performance hydraulic control system and Closed Center Load Sensing, giving farmers more versatility and operational precision. Yet, with such an enhanced hydraulic system comes great responsibility – or maintenance rather. That’s why Jaltest Agriculture kits from Triad Diagnostic Solutions are crucial for repairs. Maintaining this hydraulic system is easy with our step-by-step guides. Here is an example of the rear lift calibration for the M7.
Step 1
The diagnostic capabilities for the Kubota M7 are fully developed in Jaltest, so reading fault codes related to every system on the tractor is a breeze. The tractor’s hydraulics are crucial for farming success, so we’re going to be focusing on the VCU2-Body Computer system.
Step 2
Jaltest not only allows us to read and clear fault codes in the BCS, but it also allows us to check malfunctioning components and review their wiring diagrams for an exact repair sequence. Identifying the correct fault that caused the mechanical issue in the machine is crucial to repair efforts.
Step 3
In many cases, a specific component of the hydraulic system needs to be replaced to restore the proper function of the tractor. Once the functionality has been restored, you’ll need to calibrate those replacements. Here you can see the problem: “Rear Lift Position Sensor. Values out of calibration range or misadjusted component.” To restore function, we need to run the Rear Lift Calibration.
Step 4
To correctly make this calibration, follow the step-by-step instructions provided in the software. This will ensure that your Kubota M7 rear lift calibrations are done correctly and meet all required initial conditions.
Step 5
To continue your calibration process, navigate through the module until the Jaltest Diagnostic Tool shows the same calibration values currently saved in the ECU. Once these values are reached, you can start the actual calibration itself.
Step 6
Per the direction in the software, you’ll need to take control of the hydraulic lift and raise it to the highest position before taking it back down to the lowest.
Step 7
To finalize your Rear Lift Calibration for the Kubota M7, switch the ignition off for five seconds and then turn it back on. This action saves the new calibration values in the ECU, and your repair on your M7 farming tractor is complete!
Repair With Confidence & Ease
Repairing your modern farming equipment doesn’t have to be difficult, especially when you rely on the Jaltest Agriculture kits and cables from Triad Diagnostic Solutions. Check out our website to find the kit that meets your needs, or purchase off-highway or commercial kits. You can also contact us at (317) 939-3690
Photo by Greta Hoffman from Pexels

